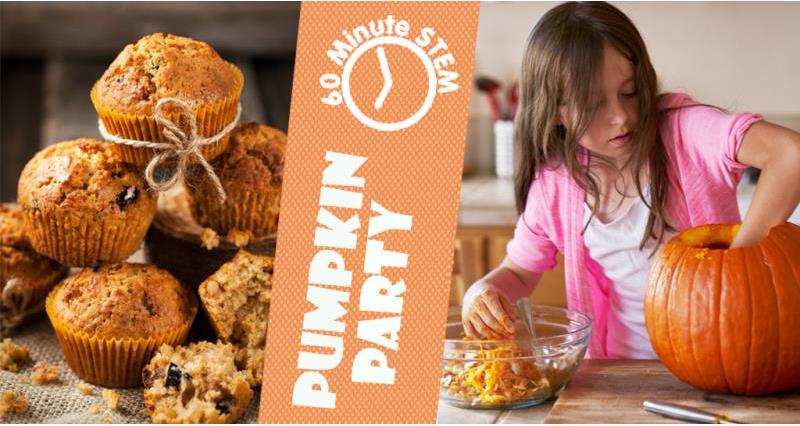
Appetising Autumn Muffins
Our friends at Fun Kitchen have shared the amazing muffin recipe that they made with fifty primary school children at our fantastic Farmvention launch event last month. Using a range of seasonal British ingredients, these tasty muffins make a super treat for after school and use fruit as a natural sweetener. We have adapted the recipe to incorporate links to the National Curriculum for Maths and Design & Technology throughout the method.
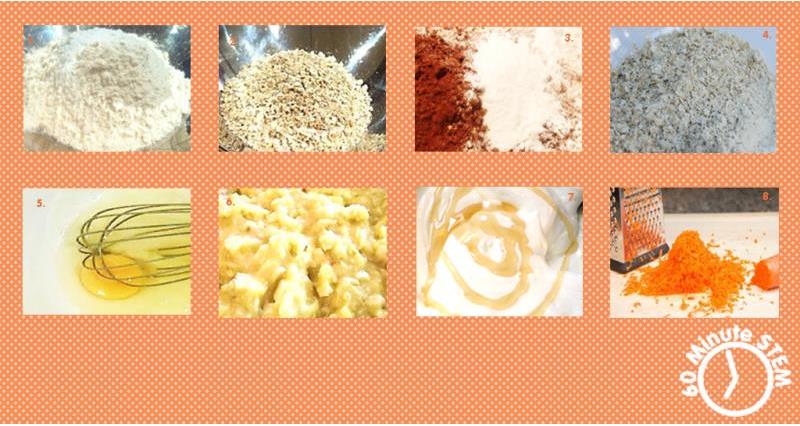
Ingredients:
- 130g Plain flour
- 40g rolled oats
- ½ tsp baking powder
- ½ tsp bicarbonate of soda
- ½ tsp cinnamon
- 1 egg
- 2 tbsp olive oil
- 1 banana
- 5 tbsp/ 100ml semi- skimmed milk
- 2 tbsp golden syrup
- 1 medium carrot or 100g pumpkin flesh
Method:
- Design your muffin. Think about which flavours will complement each other and take into account which fruit and vegetables are in season and will be readily available.
- Preheat the oven to 190°C/ gas mark 5. Take the opportunity to look at the scale on the oven and work out where the dial needs to be.
- Measure out the dry ingredients. Take the opportunity to look at the scales and work out where the dial needs to be for each ingredient. Discuss the relationship between grams and kilograms. Encourage the children to feel the weight of a large bag of flour (ideally a 1kg one) and compare that to the amount that we need for this recipe. Reinforcing this relationship regularly makes it easier for children to visualise what they need to do when converting between grams and kilograms back in the Maths classroom.
- Stir all the dry ingredients together and make a well in the middle. Discuss how flour is made.
- Model how to crack an egg carefully. Discuss where eggs come from. Emphasize the importance of washing hands after working with raw eggs.
- Whisk the egg together with the olive oil.
- Peel and mash the banana until smooth. Add it to the wet ingredients.
- Model how to measure the milk accurately. Take the opportunity to look at the scale on the measuring jug and work out where the liquid level needs to be. Add it to the wet ingredients.
- Stir the golden syrup into the wet ingredients.
- Grate your chosen vegetable and add it to the wet ingredients. Discuss where the vegetable comes from. How/ where does it grow?
- Combine the wet and dry ingredients into a smooth batter. Take care not to overmix.
- Spoon your batter into 6 muffin cases.
- Bake for 20 minutes or until your muffins are golden brown.
- Discuss what you would need to do if you wanted to make 12 muffins. What about 3 muffins? Extend older children to think about how they could calculate the ingredients needed for 9 muffins or 60 muffins.
- Once the muffins have cooled, give the children the chance to taste and evaluate their work against their design brief. What would they do differently next time to improve their final outcome?
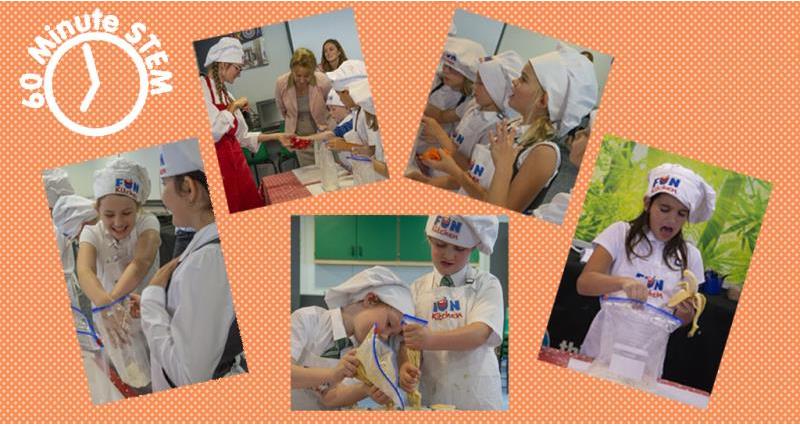
The speedy version! (How this recipe could be adapted to require less equipment, time and cleaning up!)
- Design your muffin. Think about which flavours will complement each other and take into account which fruit and vegetables are in season.
- Preheat the oven to 190°C/ gas mark 5.
- Ask the children to cup their hands and scoop out enough flour to fill both hands. Explain that this is approximately 130g and this is a way of estimating how much flour we need. Discuss the meaning of ‘approximately’ and ‘estimating’.
- Place the flour into a zip-lock sandwich bag. Discuss how flour is made.
- Ask the children to take one handful of rolled oats and add it to their bag.
- Add the remaining dry ingredients, seal the bag and give it a quick shake to mix them up.
- Model how to crack an egg carefully into the bag. Discuss where eggs come from. Emphasize the importance of washing hands after working with raw eggs.
- Add the remaining wet ingredients, using a tablespoon to measure them out.
- Add one handful of the grated vegetable. Discuss where the vegetable comes from. How/ where does it grow?
- Re-close the bag and ask the children to use their hands to mix all of the ingredients together by shaking and squishing them through the bag.
- Cut one corner off the bottom of the bag and pipe the batter into 6 muffin cases.
- Bake for 20 minutes or until your muffins are golden brown.
- Discuss what you would need to do if you wanted to make 12 muffins. What about 3 muffins? Extend older children to think about how they could calculate the ingredients needed for 9 muffins or 60 muffins.
- Once the muffins have cooled, give the children the chance to taste and evaluate their work against their design brief. What would they do differently next time to improve their final outcome?
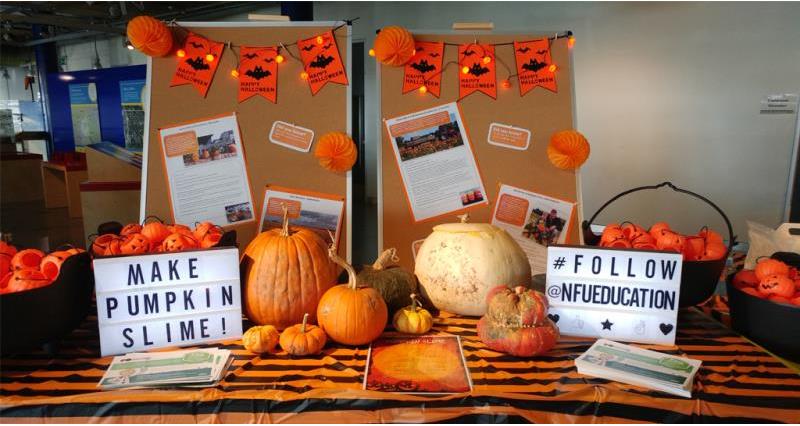
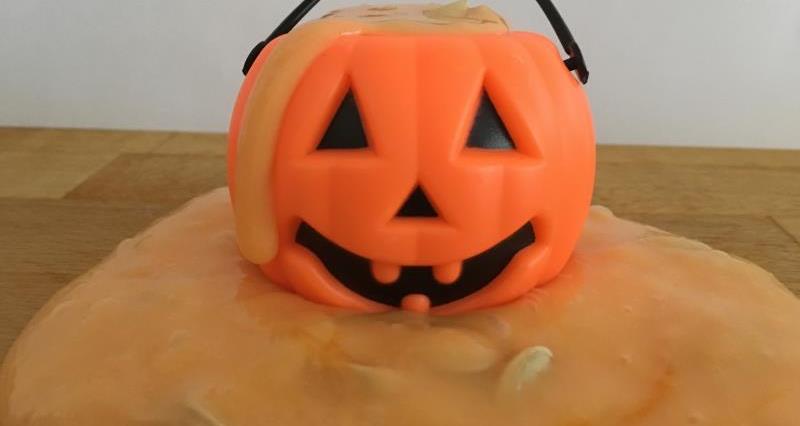
Pumpkin Slime
Our second spooky activity is a super way to use the inside of your Halloween pumpkins while learning about chemical changes.
Ingredients:
- 240ml PVA or clear glue
- 1 tsp Bicarbonate of soda
- Contact lens solution or eye wash
- Orange gel food colouring
- The scooped out inside of a pumpkin, including half of the seeds
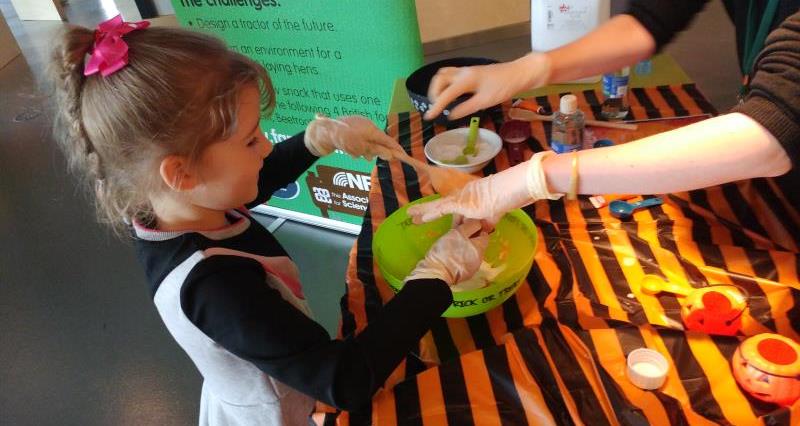
Method:
- Measure the PVA glue. Model how to measure liquids accurately. Take the opportunity to look at the scale on the measuring jug and work out where the liquid level needs to be.
- Add the bicarbonate of soda and mix them together.
- Stir in the food colouring.
- Add the pumpkin. Discuss how each of the pumpkin seeds is another pumpkin plant waiting to be planted and grown. You might like to keep some of your pumpkin seeds in an air-tight container until they are ready to be planted in April when you can grow your own pumpkin for the year!
- Add 1 tablespoon of contact lens solution.
- Mix with a spoon until it starts to become stringy and come away from the edges of the bowl.
- Take your slime out of the bowl and knead it between your hands. It will stick to them at first but within about 20 seconds, it will firm up and become elastic and stretchy.
- If your slime is too sticky, add a few more drops of contact lens solution.
Let’s talk Science!
Reversible changes are changes or reactions that can be undone or reversed. This means that you can get the substance that you started with back again. For example if you freeze water, you will make ice but if you leave the ice to melt, the change will be reversed and you will have water back again. Can you think of any other examples of reversible changes or reactions?
To illustrate this point, you might like to freeze some seasonal fruit juice to make lollies. If the lollies melt, you will have the fruit juice back again as the change will have been reversed.
Irreversible changes are changes or reactions that cannot be undone. This means that you cannot get the substance/s that you started with back again. New materials are always formed in an irreversible change. For example if you burn wood, you will make ash. You cannot change these new substances back into wood so the change is irreversible. Can you think of any other examples of irreversible changes or reactions?
Think about this month’s activities. Do you think the changes that take place when you made muffins and slime are reversible or irreversible? Can you explain why?
Send us a photo of your muffins or slime at ZWR1Y2F0aW9uQE5GVS5jby51aw==!
Links to the National Curriculum:
Appetising Autumn Muffins | |
Subject and topic | National Curriculum Links |
KS1 Design and Technology: Cooking and nutrition |
|
KS1 Design and Technology: Design |
|
KS1 Design and Technology: Evaluate |
|
Year 1 Maths: Measurement |
|
Year 2 Maths: Measurement |
|
Key stage 2 Design and Technology: Cooking and nutrition |
|
Key stage 2 Design and Technology: Evaluate |
|
Year 4 Science: States of matter |
|
Year 5 Science: Properties and changes of materials |
|
Year 3 Maths: Measurement |
|
Pumpkin Slime | |
Subject and topic | National Curriculum Links |
Year 1 Maths: Measurement |
|
Year 2 Maths: Measurement |
|
Year 3 Maths: Measurement |
|
Year 4 Science: States of matter |
|
Year 5 Science: Properties and changes of materials |
|